Skip to content
Whisky and Velvet Whisky and Velvet

Sewing, pattern design, and more!

  • Home
  • Contact
  • About
Whisky and Velvet
Whisky and Velvet

Sewing, pattern design, and more!

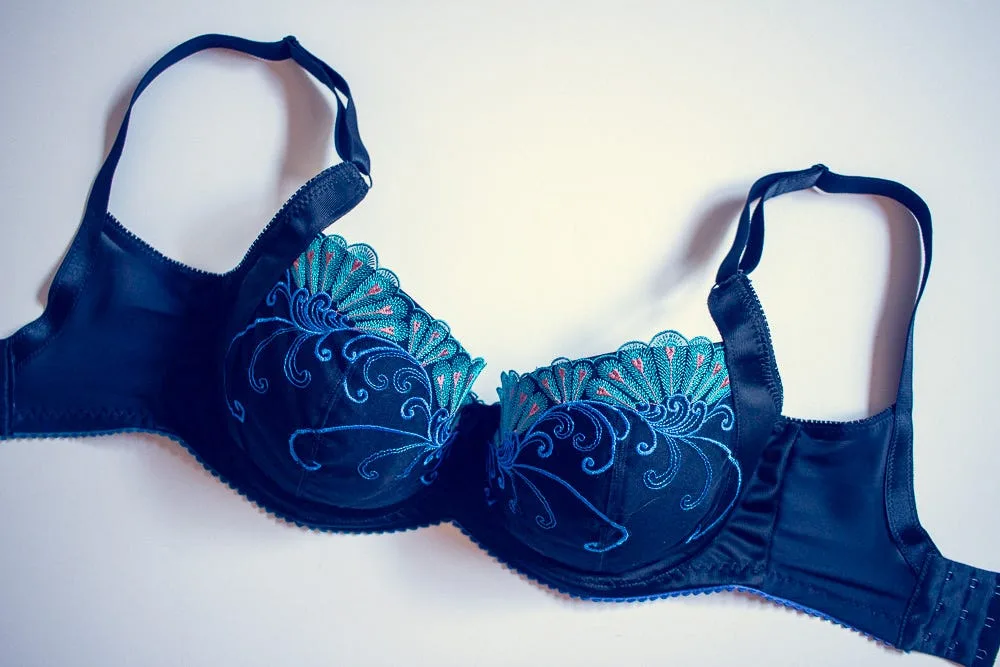
Project Updates A flatlay of a black bra with blue and teal peacock-inspired lace elements.

Bra-A-Month Challenge in Review

Posted on May 7, 2024May 19, 2025

A reflection on my 2023 monthly bra-making challenge

Greetings, dear readers! Today’s newsletter finally delivers on my long-promised review of my 2023 bra-a-month challenge. I’ll dive in to what I made, what I learned, as well as my plans for future bra-making — but first, an overview for those of you that didn’t follow along with the challenge and, maybe, don’t know exactly what I’m talking about.

Inspired by Emerald Erin’s Bra-A-Week and Evie La Lùve’s Let the Dice Design challenges, I set out in 2023 to do a bra-making challenge of my own in order to practice and fine-tune my bra-making skills. The thought of adding 52 new pieces to my lingerie drawer seemed excessive, not to mention the time involved in making a new bra each week, thus I opted for a monthly bra challenge instead.

A tan, lacy triangle-cup bralette on a dressform.
A flatlay of a sports bra. The bra is dark grey with red, pink, and yellow stripes, similar to what the cover of a VHS cassette tape may have looked like.

What I Made

During the course of the challenge, I completed a total of eight underwire bras (three AFI Exquisites and five LilyPaDesigns Lusamines), one non-wired bra (the Cloth Habit Watson), one sports bra (the Evie La Lùve Mighty), one swimsuit (the Edgewater Avenue Newport), and one corset (the Aranea Black Dahlia).

For the first few of months, I determined each month’s make using a set of design dice that I made, which were inspired by the ones Hannah uses for her Let the Dice Design challenge. These were useful for getting the challenge started, and helped me to be a little creative when deciding on each month’s make.

A flatlay of a red and gold lacy bra with black straps.
A black strappy bra on a dressform.

By April, however, when I had finished my first Exquisite and Lusamine bras (neither of which was a great fit on the first go), I decided I might get better results if I focused on perfecting the fit of a single bra pattern at a time. So I made four more Lusamine bras (diverting only in June to make a swimsuit for my July trip to Las Vegas), and by the last two I felt like I was finally getting a decent fit. I then spent October and November perfecting the fit of the Exquisite, which I think I’m even happier with.

A light pink bra with pretty teal and pink lace embellishments.
A flatlay of a neon pink bra with purple straps.
A dressform displaying a black bra with purple straps and fun polka dot lace elements.
A flatlay of a black longline bra with a deep v-neck and purple seam details.

I was able to finish each of these projects within the allotted month except for my December project, which was the Dahlia Victorian Riding Corset. This was a pattern that used to be provided free by Aranea Black, but is no longer available to download. I’d been wanting to make it for years and thought it would make a fitting finale to this year-long project. But, December being busy as it always is, meant I didn’t actually get around to finishing it until well in to 2024.

A grainy image of a woman wearing a pink and gold corset over a plain grey tank top and leggings.

What I Learned

One of the most important lessons that I learned is that, honestly, a bra challenge isn’t really a great way to learn to make bras, especially if you’re still working on tweaking the fit. In the first half of the year, I added a lot of finished bras to my collection that simply didn’t fit, when I would have been better off making toiles or fitting bands first.

I did, however, get a lot of practice using various finishing techniques which means my bras are looking very well-made inside and out, regardless of how well they fit. So that’s a plus.

A purple knit bra on a dressform.
A flatlay of a black bra with blue and teal peacock-inspired lace elements.

What’s Next?

While I did manage to get the fit pretty good on a couple of bra patterns last year, I’m still not totally, completely happy with the way the bras fit me. Even though my underwear drawer is filling up with more me-mades, I often still find myself reaching for my trusty Comexim bras. I’d also like a more reliable way to adjust a bra pattern to fit me without it taking me multiple versions, or even a method to start to make my own bra designs from scratch.

A few years ago, I drafted a bra using the Porcelynne method as described in her book, Bare Essentials. It didn’t turn out great at all, I think in part due to the fact that I wasn’t nearly experienced enough in pattern drafting or bra making at the time. Now, coming off of the heels of my recent experience in Victoria Werner’s Confident Patternmaking course, I’ve decided to try my hand again at drafting a bra pattern to fit my body. This time, I’ll be using Porcelynne’s method, as well as the method laid out in Patternmaking for Underwear Design by Kristina Shin, and the Full Course for Bra Pattern Drafting from Merckwaerdigh.

I’ll make each bra using the same materials, starting with a fitting band, and then full toiles, adjusting as necessary until I decide which method works best and adjust from there. I would love to have a truly well-fitting bra pattern from which to fill out my lingerie drawer.

That’s it for today, but I’ll be sure to update you all here as I progress in this new project. And I’d love to know if any of you are bra-makers, too! Please leave me some comments — it’s always nice to know I’m not the only one struggling through the process of trying to make a well-fitting bra.

The Halloween Costume

Posted on November 1, 2023April 4, 2025

Now that Halloween is over, it seems an opportune time to share a little more about this year’s costume-making process. I think it’s safe to say that this is one of my more involved costume projects — I self-drafted my outfit and built two props to go along with it. I’ll start with the outfit, as I already discussed the first few steps in my previous newsletter.

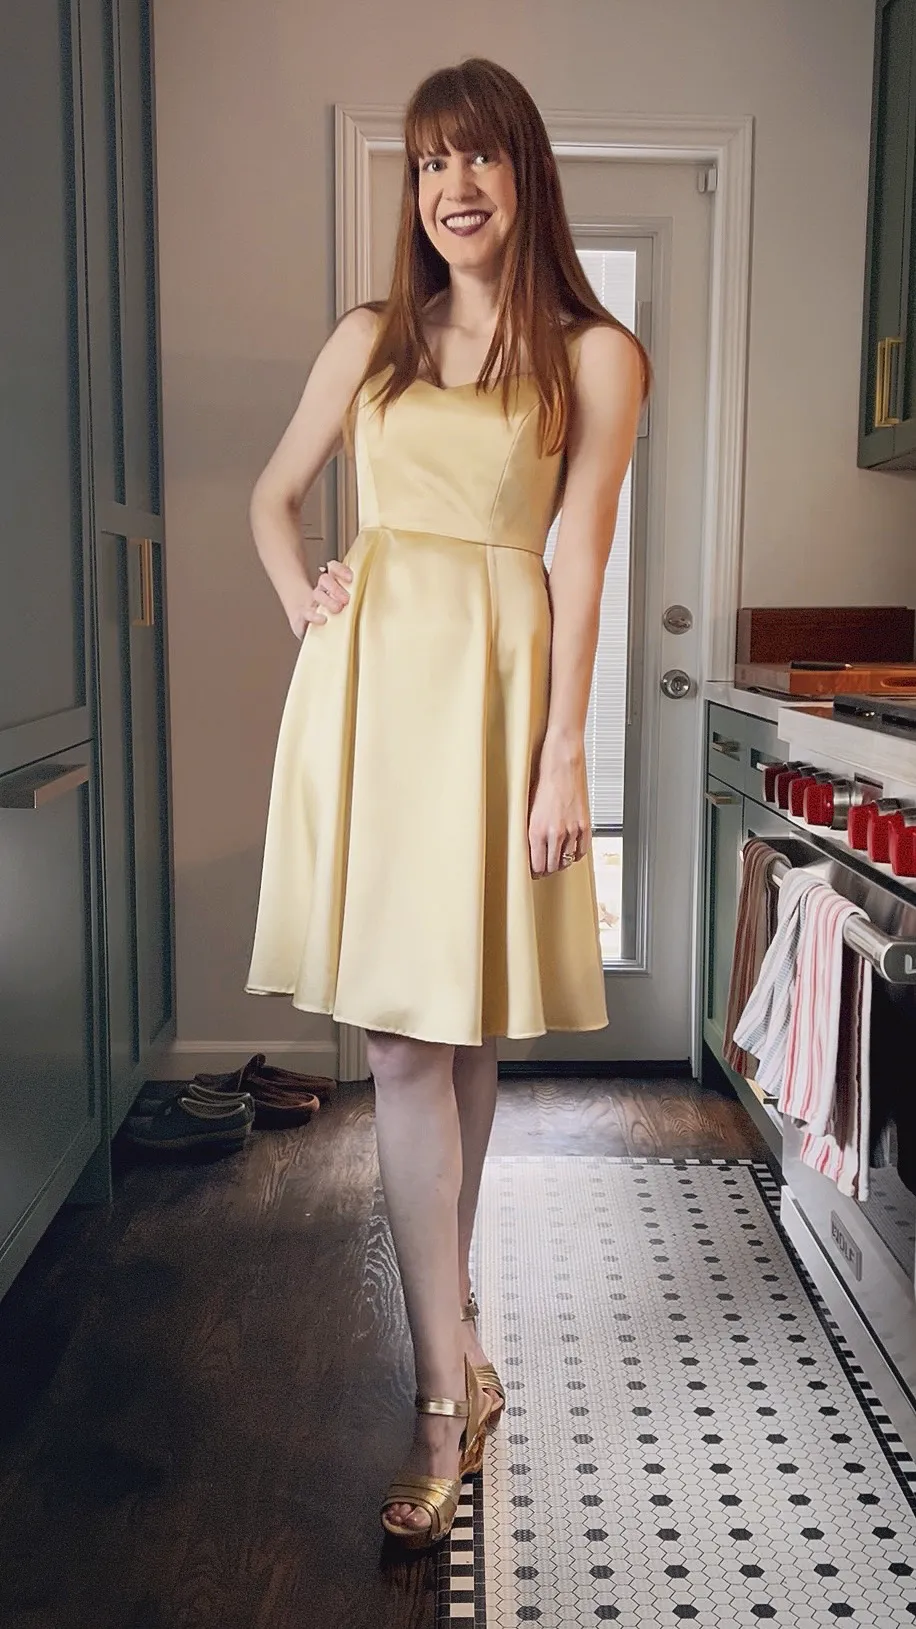
The dress was relatively simple to make, though the pattern looks complicated. As I mentioned last time, I drafted a fairly simple strapless princess seam dress, removed about 1/4” from all the seams to account for the stretch of the fabric, then put together a quick toile. I drew my design onto the toile, then cut it apart along the new style lines, which I then traced back onto the pattern pieces. I cut these apart and reassembled them as needed. And here’s what I ended up with:

A series of hand-made pattern pieces laid out on a hardwood floor. The pieces look like funny shapes, but when sewn together they will form a dress!

I made sure to add plenty of notches and labels so that I’d be able to easily put them all back together. I also made a simple lining pattern out of the original princess seam pattern, which I cut out of a lightweight knit fabric. And, to top it off, I made a built-in shelf bra from from power mesh and bra foam using the same pattern pieces.

I sewed rigilene boning directly into the seams of the lining to give some added support. While I added a halter strap to the dress, it isn’t exactly doing anything to hold the dress up; it’s essentially a completely strapless garment with a decorative halter neck. The support is coming entirely from the boning and the built-in bra, combined with the stretch of the fabric.

While the fit isn’t bad and it’s not unpleasant to wear, I do think I can make a few improvements to the overall pattern. First of all, with the addition of lining and built-in bra, it became rather tight, so I may benefit from adding just a smidge more room in the upper section of the pattern. Because I factored in enough stretch, I didn’t add any kind of zipper or fasteners, but I think adding one might actually make it a little easier to get into and out of. The boning works alright, but it gets a little odd in my bust area, as the boning ended up on the lining, which was outside of the built-in foam bra, and therefore not attached to it. I’d definitely love to learn more about improving internal, structural elements in my garments.

The props were a lot of fun to create as well. A friend loaned us a 3D printer a few years ago, and I used it to make the ray gun. I found a pattern for free online, printed it out without too much trouble, then glued the pieces together and painted it. The helmet is an acrylic globe meant for outdoor lighting. We cut the opening a little larger to fit over my head, then covered the sharp edges with electric tape and glued a couple of foam wreaths to the base.

I completed the look with a pink wig and some Twiggy-inspired makeup. It was a fun costume, and I can’t wait to challenge myself again next year!

A selfie of a woman with pink hair in a silver sci-fi inspired dress.

Hope you all had a fun Halloween. Thanks for reading!

Halloween Costumes A stock image of black fabric bats on an orange background.

Let the Halloween Sewing Commence

Posted on October 12, 2023April 4, 2025

I usually begin Halloween costume preparations in mid- to late-August, so getting started after the first week of October feels woefully late to me, but I think I’ll still have plenty of time to put together a pretty fun costume for this year’s festivities.

My concept this year is a space traveller inspired by 1960s retrofuturism art. I drew a relatively simple design, then drafted a strapless, princess dress from my bodice block using the method laid out in Patternmaking for Fashion Design by Helen Joseph Armstrong. I whipped up a quick toile, then drew the design onto it, which I’ll next use to draft the final pattern pieces.

Two images. The left image is a sketchbook containing a pencil sketch of a retro-inspired space-age dress. The right image is a mockup of the same design in knit fabric.

The next step, of course, was to purchase fabric. My good friend Diana was kind enough to take me on a tour of Los Angeles’ famous fashion district, a place I’d always been curious about but intimidated to visit by myself. I ended up buying way more fabric than I’ll need for this project, but, in retrospect, much less than I could have bought considering how tempting a lot of the selections were! Since I’m sort of figuring out this costume as I go, I figured it would be better to have too much fabric than not enough, and I’m sure I’ll find a use for the leftovers.

A pile of sparkly stretch fabric piled on a wood floor. There are four pieces of fabric, one in each color: blue, purple, pink, and silver.

I’ll update you all again in a few weeks when my costume is further along. Until then, thanks for reading!

PS: Have you planned your Halloween costume yet? What are you planning to go as? Will you be sewing it yourself? Let me know in the comments!

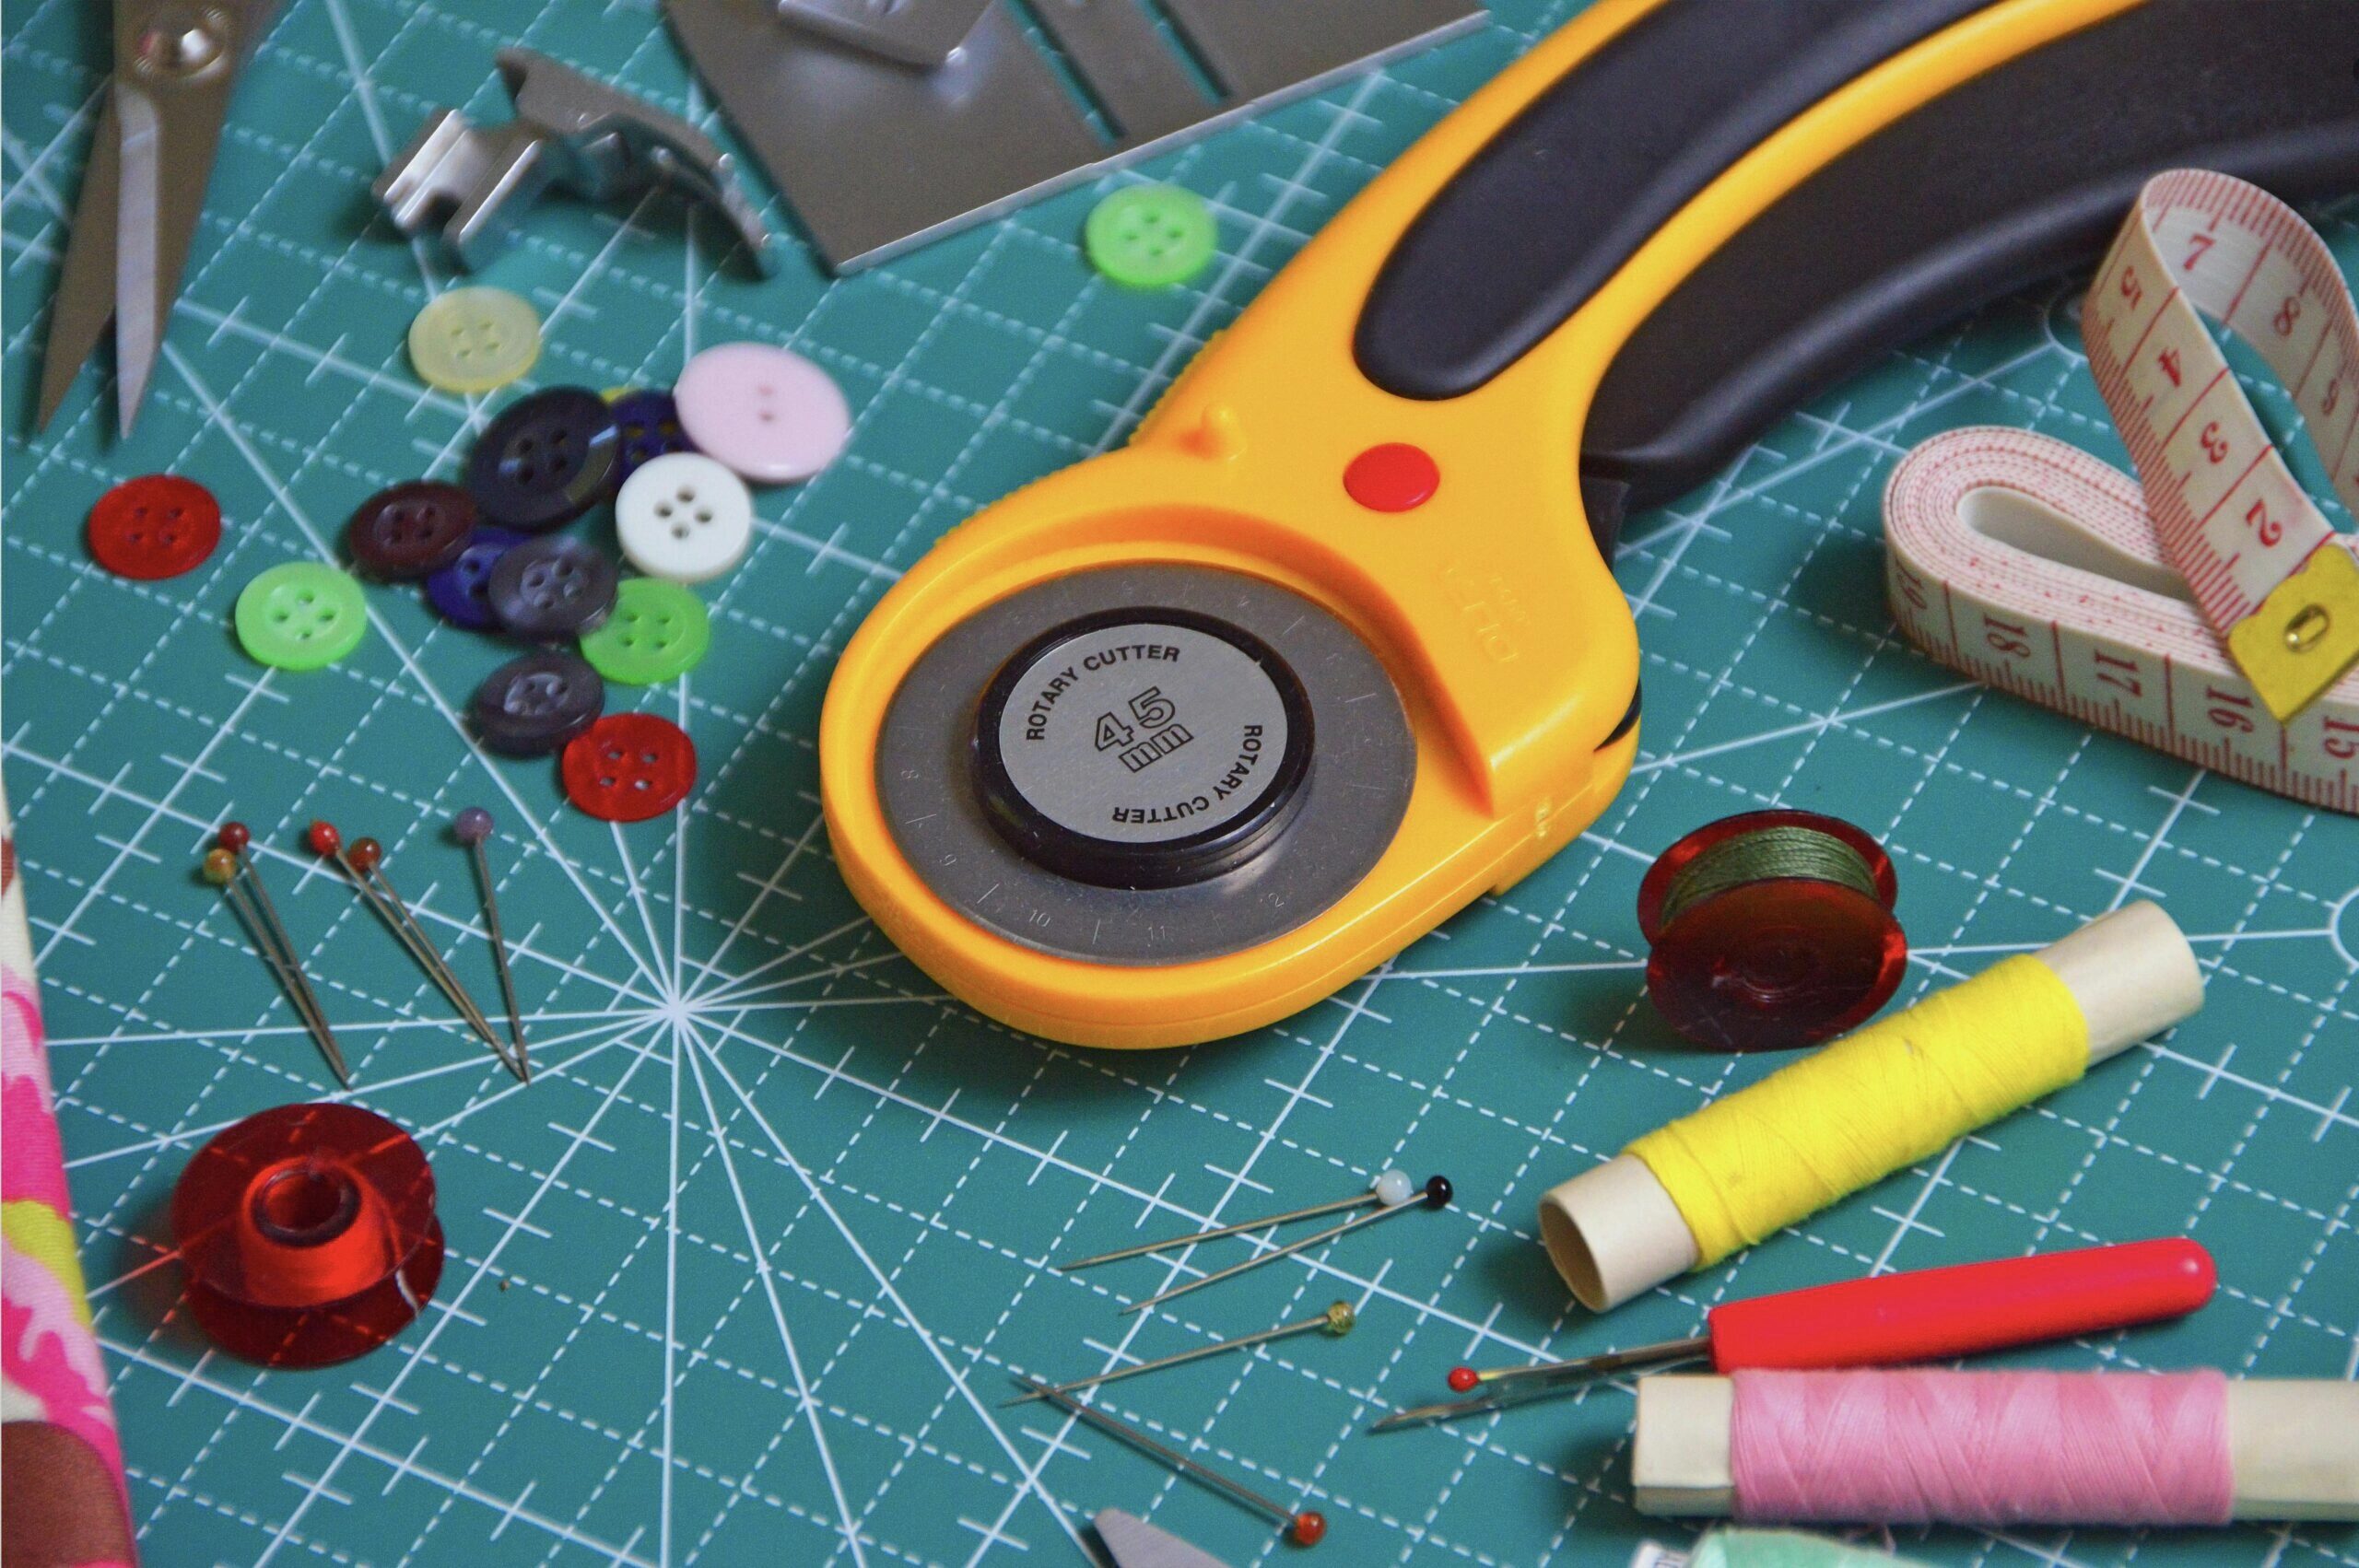
Project Updates A stock image showing various sewing tools.

A Quick Sewing Update

Posted on September 27, 2023April 4, 2025

I’d been hoping to have a finished project to write about today, but the past few weeks have seen my sewing slow down a bit due to various life factors. In the interest of not letting this newsletter go completely dormant, I thought I’d write a little about the status of current projects, and future plans as I transition my sewing from summer into fall.

What Am I Working On Now?

I’m getting towards the end of two projects at the moment. The first is my monthly bra project, which, this month, is an experiment in hacking a well-fitting bra pattern into a long-line bra with a v-wire. I’ve wanted to try this for a while, but had been wanting to wait until I had managed to get a bra pattern to fit well enough as-is before hacking it. I’m very close to finishing it, but unfortunately had to pause to order a few materials I’d run out of. Those are due to arrive today, and I can hopefully finish the bra over the next few days in order to finish before October.

The second project is a pair of Ginger Flares in a black & white stripe denim deadstock that I purchased earlier this year from Stonemountain & Daughter. I had seen a pair of striped flares on Pinterest last fall, which inspired me to try my hand at doing something similar. I particularly wanted to play with reverse pattern matching — alternating stripes on the seams to get a fun effect. The thick black & white stripes and pattern matching are reminding me of the dress Christina Ricci wears at the end of Sleepy Hollow, and I’m not mad about it at all. All these need are a waistband, hem, and hardware, and they’ll be ready to wear, too, just in time for my favorite month of the year.

The front of a partially-sewn pair of black and white striped jeans with red topstitching.

What’s Next?

Next month, I’ll be diving headfirst into drafting & sewing my Halloween costume, as well as making a few items for my future niece who is due in mid-November. I’ve also had a shoe-making project in the back of my mind for over a year now that I’m hoping to finally get started on, though that project may end up getting pushed into November. Plus, it will be month ten of my bra-a-month project, so I really should start brainstorming what that project will be. Probably something simpler than this month’s, to give myself time to work on everything else!

I’m planning to write a lot about my Halloween costume in the coming weeks as I draft and create it, so stay tuned.

What are your plans for fall sewing? Please do leave a comment and let me know!

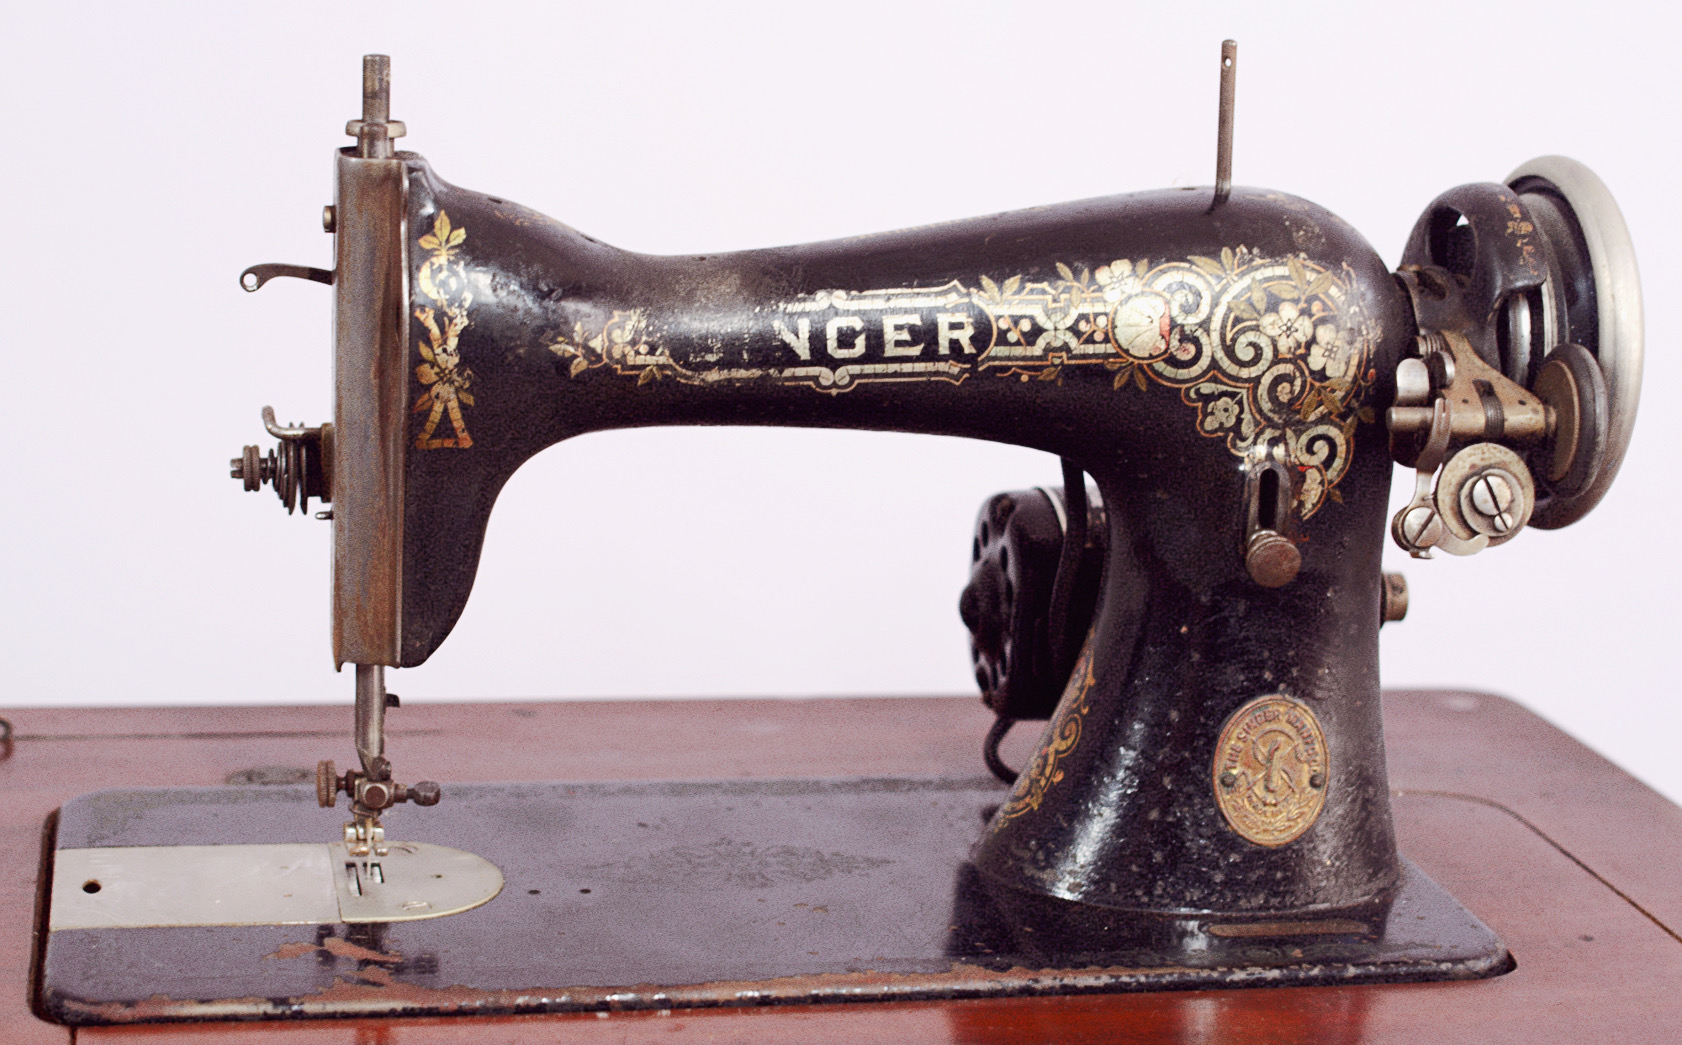
Sewing Room An antique Singer 15 sewing machine in rough shape. The metal pieces appear a bit rusty, the enamel needs cleaning, and the decals have been partially rubbed away.

A New Addition to My Sewing Room

Posted on September 14, 2023April 4, 2025

Today’s newsletter is a bit of a detour from my usual content, to showcase a recent addition to my sewing room.

A wooden sewing machine cabinet. It is an antique, and it is in rough shape, with many scratches and missing chunks of veneer. Vintage power cables dangle down from the base of the table.

I’d been thinking about purchasing an antique Singer for a little while, but hadn’t been actively searching aside from the occasional estate sale. That’s why I was both surprised and thrilled when I happened upon this Singer 15 at a recent garage sale in my neighborhood.

An antique Singer 15 sewing machine in rough shape. The metal pieces appear a bit rusty, the enamel needs cleaning, and the decals have been partially rubbed away.

As you can see, she needs a bit of love, but I’m very excited to try my hand at a little restoration.

After a quick serial number search and a bit of googling, I was able to discover quite a bit about my new machine. This is a Singer 15-30, manufactured in 1911 at the Singer Factory in Elizabethport, NJ. These models were exclusively treadle or hand-crank operated, therefore this one was likely converted to it’s present electric-operated status at a later date. I imagine it wasn’t much later, though, as the electric components appear to be quite dated, and made from what I’m fairly certain is Bakelite. Though there are no identifying markings on the components, a bit of research found similar designs that were sold by a company called Mercury Electric, which closed down in 1955. I’ll need to do a bit of sleuthing though to find out how much earlier than that these might have been manufactured…

An antique bakelite power socket. The left socket reads "motor" and the right socket reads "light".

The motor and light still operate, though the belt is missing, meaning I can’t currently run the machine using the motor. I’ve yet to decide whether I want to keep the electric motor or convert it back to it’s original state. I’d been hoping to find a treadle-operated machine, but if I decide to convert this one, I’ll need to find a treadle cabinet and pedal, which tend to be pricier as they’re relatively popular for home decor.

In the meantime, I’m planning to get to work doing on the restoration of both the machine and the cabinet. The cabinet needs a full refinishing, and the machine needs quite a bit of cleaning as well as new parts that have gone missing over the years. I’d love to get this beauty closer to the state it was in when it was new 112 years ago! I’ll be sure to update you all with the process as I go along.

Do you happen to own a vintage or antique sewing machine? I’d love to know. Let me know in the comments! And as always, thanks for reading!

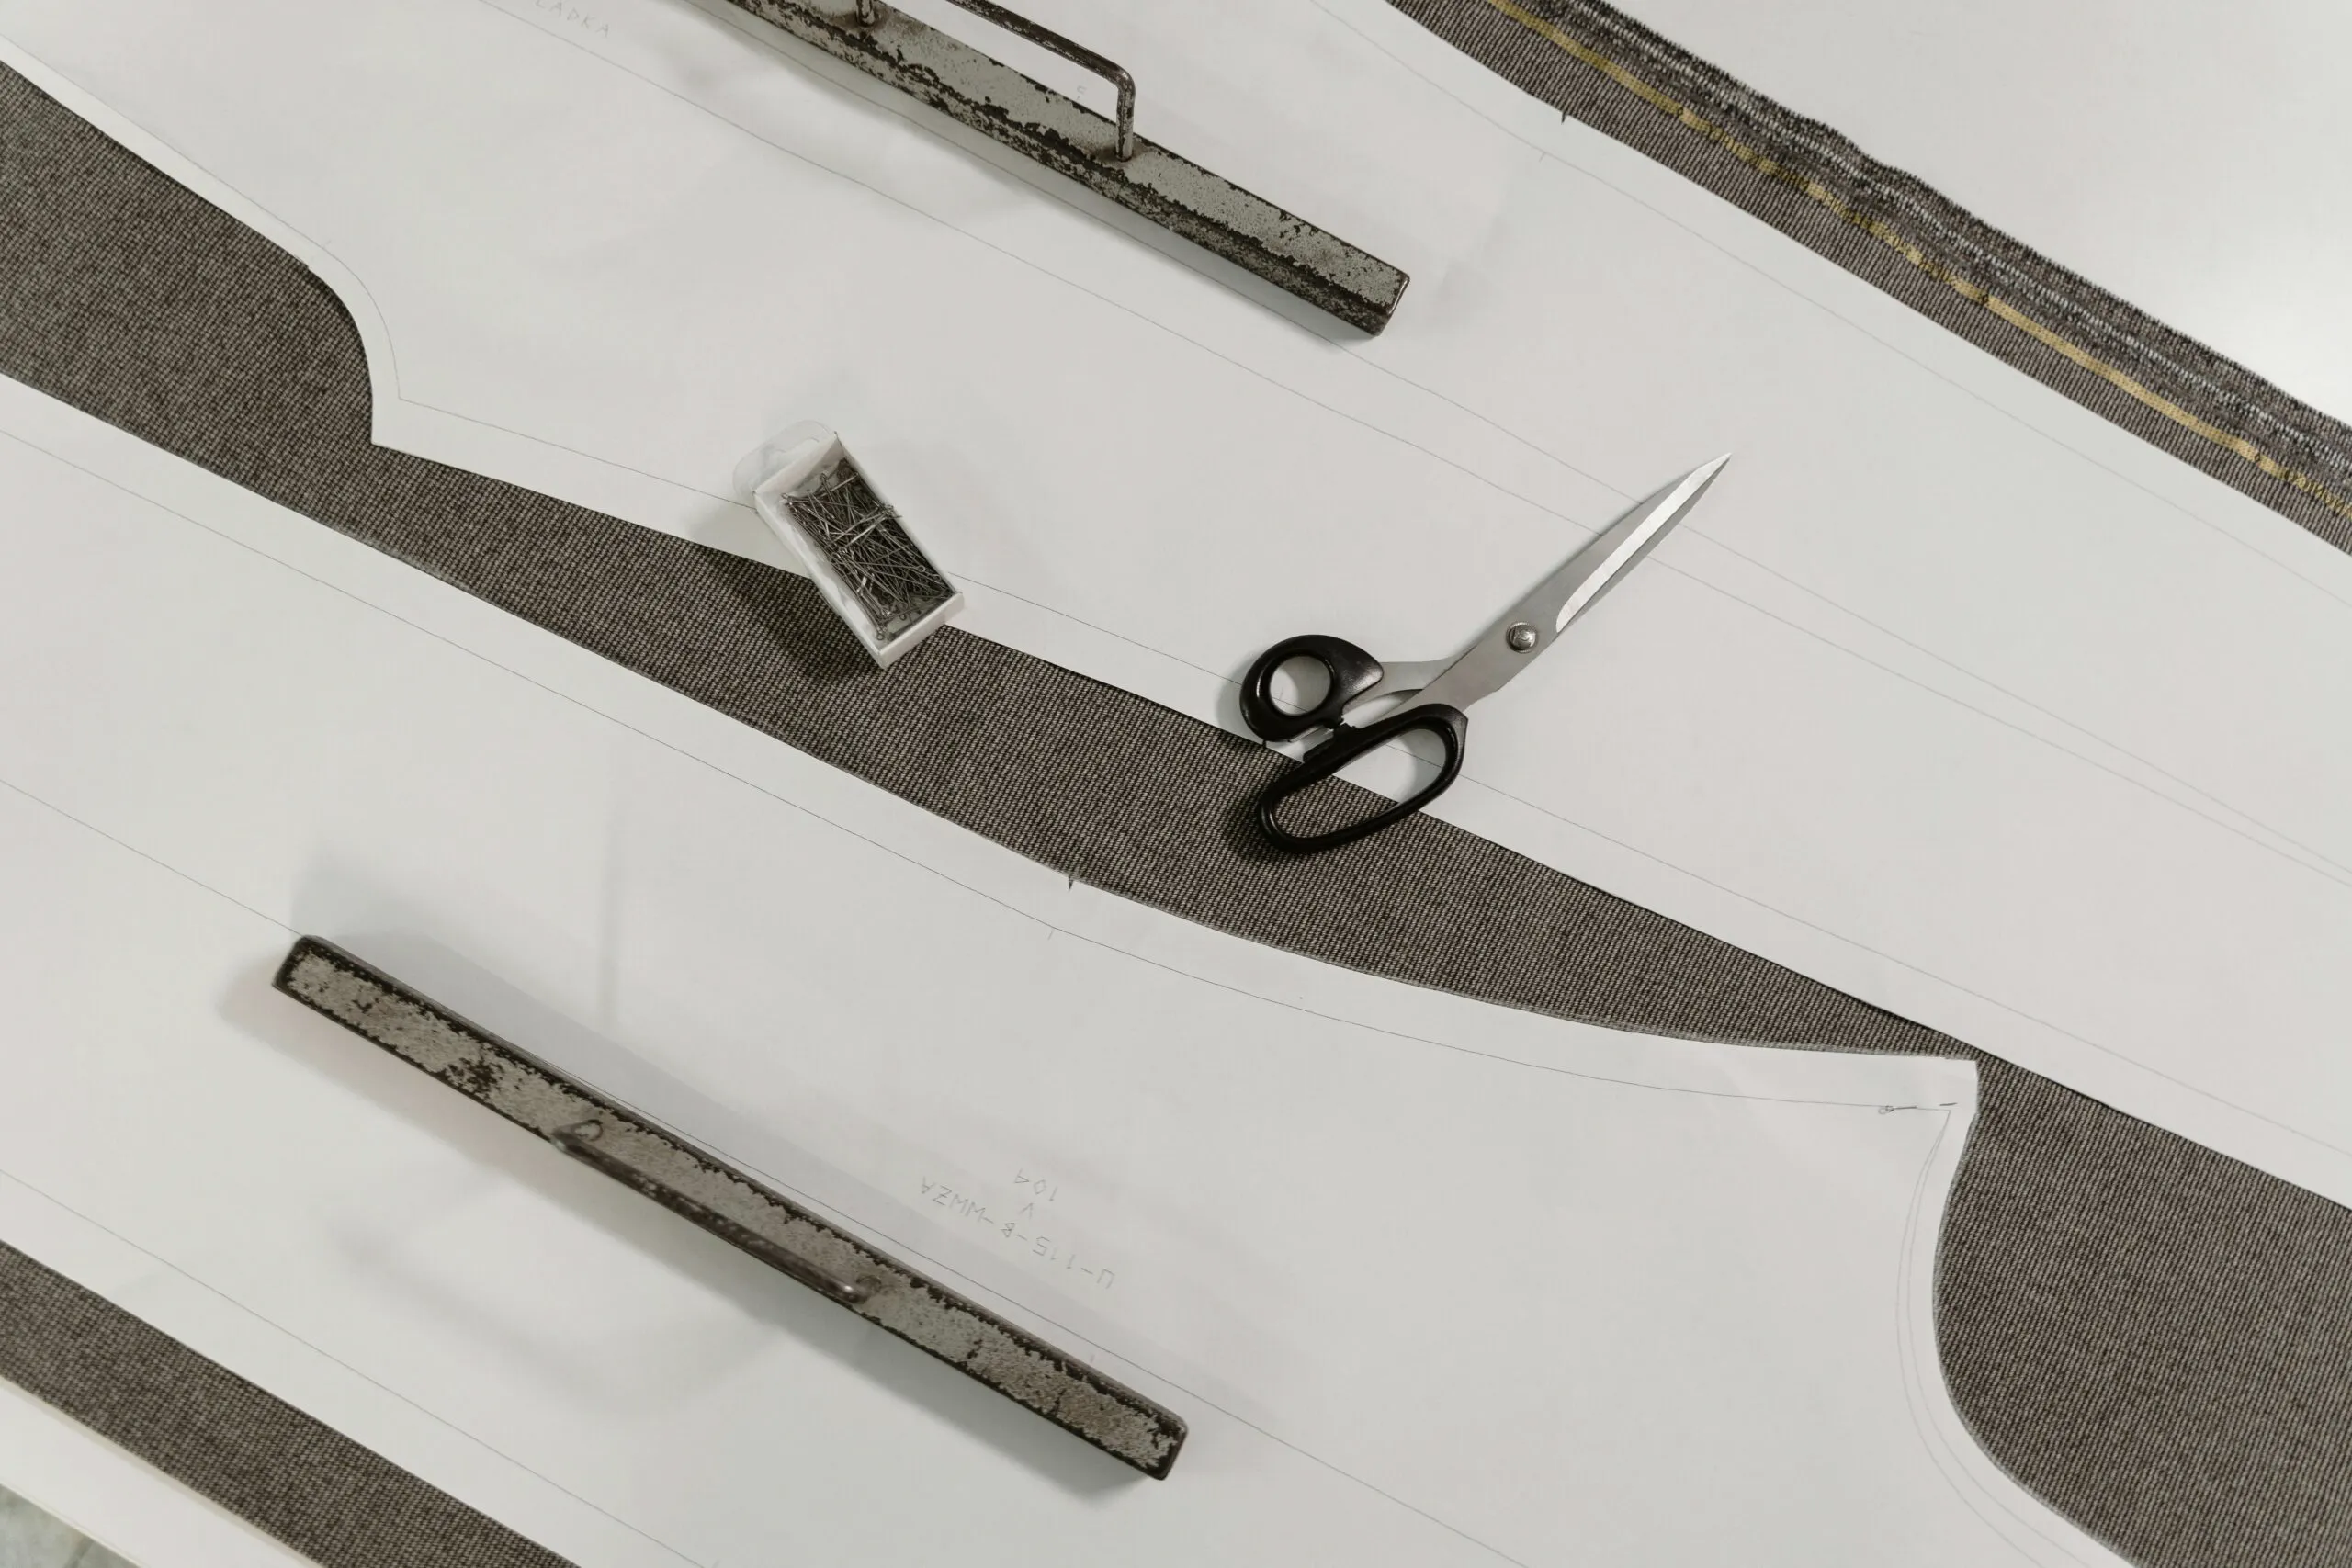
Pattern Drafting A stock image of patterns ready to cut from a grey fabric.

My First Self-Drafting Experiment

Posted on August 30, 2023April 4, 2025

Since you last heard from me, I’ve leapt head-first into a number of self-drafting experiments.

The first — which was in retrospect perhaps a bit ambitious for my very first attempt — was to re-create a vintage DVF silk wrap top that I purchased from ThredUp several years ago. I absolutely love this top, but it’s a bit oversized, and therefore too revealing for everyday wear. I thought that using my new bodice block as a base for duplicating it would allow for a better fit.

On the left: a silk DVF blouse on a dressform. The blouse is black with purple, green, and brown geometric designs printed on the fabric. It has long sleeves and a pussy-bow necktie. On the right: an attempt at a dupe of the DVF blouse, made in a teal, brown, and white fabric.

The image on the left is the original, while the image on the right is my version. Most of the drafting problems can be seen in the front bust area. I’m actually thrilled with the sleeves, and I’ll be keeping that pattern for future makes. The back isn’t bad, though the length adjustment that I made to the torso meant the back darts, which I intended to sew as gathers, completely disappeared.

I started the process by studying the original, and I managed to duplicate most of the construction pretty closely. I did a bit of guessing in terms of how to shape the neckline, which is the main source of my woes. I also added about two inches below the waistline before attaching the waistband, which ended up being a strange spot on my body. I converted all the dart volume into gathers, but it’s too much, so it makes the area between my bust and waist look too voluminous.

Most of these, thankfully, should be easy fixes. I fully intended for this to be an experimental toile, not really a wearable garment. I used a mystery polyester fabric with similar drape to the original top, purchased from a local re-use store in Los Angeles as part of a fill-a-bag for $10 scheme, so all in it probably cost me less than $2 in fabric to make.

My most recent self-drafting experiment has taken the form of creating a knit block, and it’s still an ongoing process. As a larger-busted individual, with a lot of forward projection, I’ve had a lot of success with adding knit FBAs to patterns, or just using patterns designed for larger busts to begin with.

I spent a bit of time searching for a method to self-draft a knit block with these considerations in mind, but every resource I found suggested that the front and back be identical widths. I ended up using the book “Patternmaking with Stretch Knit Fabrics” by Julie Cole, thinking I’d draft the pattern to her instructions, then add an FBA like I’ve done in the past.

Well, that didn’t work. I’m not even sure the bust drafting itself was the problem, but rather the shape of the armscythe. Even the neck opening was too small, so I’m guessing this was a result of user error and not a problem with the instructions. I drafted from my own measurements, when perhaps I should have started with a standard size, as I did with my woven block drafts.

As a palette cleanser, I printed out the Cashmerette Concord Tee in my usual size — 2 F/G — and sewed it together in order to compare. Here’s the two side-by-side:

A diptych of the same women wearing two similar but different striped t-shirts. The t-shirt on the left is ill-fitting, with the sleeve seams oddly shaped and pulling fabric from the torso towards the shoulders. The t-shirt on the right appears to fit much better.

Clearly a huge difference. One thing I noticed and love about Cashmerette’s knit drafting for larger cup sizes is the “boob bubble” — as you can see on the pattern piece below, the extra room for the FBA is added in a curve below the underarm, allowing the armscythe to remain unaffected.

A pattern piece from Cashmerette. This is the front piece from the Concord T-shirt, drafted for a G/H cup. The side seam on the left side of the bust includes a "boob bubble."

My next steps for my personal knit block will be to apply something similar. I may even use the Cashmerette pattern as a basis for the front bodice block, and adjust as needed for fit. The sleeves need a bit of adjusting (they’re a little too tight), I’d prefer the neckline to be smaller, and the waistline needs to be lowered. But this seems like a much closer starting point!

That’s it for this week. What have you all been working on? Drop me a comment and let me know!

Thoughts A stock image of a variety of colorful sewing tools.

Project Diary: The Beginning

Posted on August 16, 2023May 20, 2025

Ramblings about the fitting process

I have delayed starting this newsletter for a long time, unsure how to actually begin. Luckily, I was inspired by a recent opinion piece in the New York Times that has been making the rounds in the sewing community this week: Your Clothes Were Never Meant to Fit You by Elizabeth Endicott.

I’ve been thinking quite a lot about fitting recently — it’s the primary reason why I began the process of creating my dress block. One of the most important lesson I’ve learned through this process, as well as from years of making my own bras, is how very nuanced and unique fitting is to each individual. It’s not as simple as a collection of measurements, because two individuals with the exact same measurements could have those measurements distributed very differently on their bodies.

I see this often in bra sewing. I wear a UK size 32GG, and yet I cannot wear a good portion of ready-to-wear bras in this size. This is because the size itself, 32GG, refers only to the underbust circumference and full bust circumference of a bra. But there’s a lot more to getting a correct fit — underwire size and breast tissue distribution (which impacts cup volume) are huge factors.

I ran into similar concerns when creating my dress block. I made twelve different versions of the bodice block in order to get a fit I was happy with, and even so, it doesn’t fit me perfectly (though I think the pursuit of perfect fit is impractical, given how often our bodies fluctuate in size). What struck me most was how even the subtlest changes to seam lines and dart points had a sizable effect on fit.

All of this is to say that, yes, it makes sense that mass-produced ready-to-wear clothing isn’t, and frankly can’t be, designed to fit the majority of people. But sewing patterns, even with their expanded size ranges, also have limitations. They’re still built off of a pre-determined base shape. For many, myself included, adjustments are still necessary.

I often see pattern reviews posted on Instagram that include a line along the lines of “this pattern fit me perfectly, with no adjustments!” as though this is a marker of a well-made pattern. In fact, all this means is that the reviewer’s body happens to be very similar to the block that the pattern was based on (or, perhaps, they are not as bothered by small fitting issues as I am). What disturbs me about this sentiment is it promotes the same wrong idea that the ready-to-wear industry has been pushing on us for decades: that we should be striving to fit into a mold.

But the beauty of learning to sew our own clothes is that we don’t have to fit into a mold. We don’t have to wear what everyone else is wearing, and we can make any adjustments we please — be they for aesthetic reasons, fitting reasons, comfort reasons, you name it. We don’t even have to use a pattern. This is why I’m so interested in learning to draft clothing for myself — so that I can really discover my own sense of style, free of what the rest of the world tells me I should wear.

Thanks for joining me on this journey. In the future, I’m planning to share more details on my making process, and not so much stream-of-consciousness posts like this one. These thoughts have been swimming around in my mind recently, and it helps to write them out here. What about you, reader? I’d love to know if any of this resonates, or if you have other thoughts on what you’ve learned while sewing and fitting your own garments. Leave a comment and let me know!

Categories

  • Halloween Costumes
  • Pattern Drafting
  • Project Updates
  • Sewing Room
  • Thoughts
©2025 Whisky and Velvet | WordPress Theme by SuperbThemes